Jewellery3 min readUpdated
Jewellery photography at home
Jewellery photography at home is shooting saleable jewellery images using a phone, daylight and household surfaces instead of a studio, lighting rig or professional camera.
Early access — jewellery support is in development. Garment and ethnic-wear catalogues are available today.
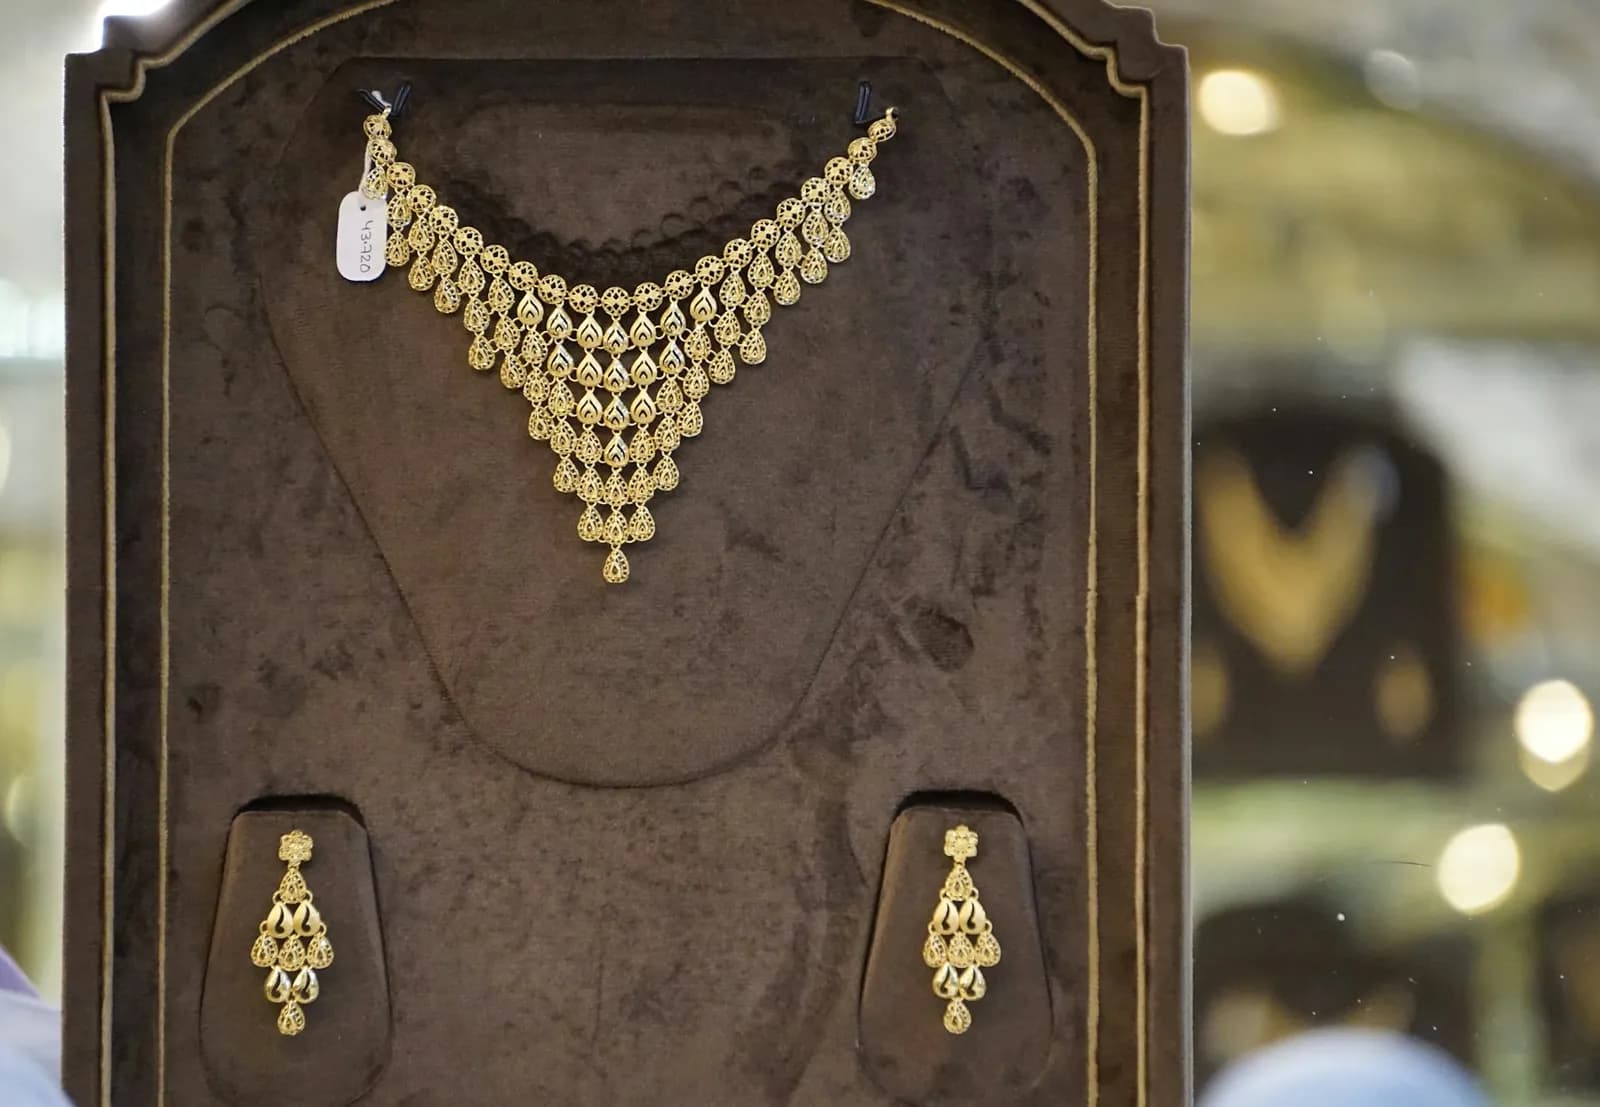
Almost everything that makes jewellery photograph badly at home comes from one decision: shooting under the ceiling light. Overhead tube and LED light arrives from directly above, which means it hits the top of a piece and leaves the sides flat. Metal needs a bright edge and a dark edge to read as metal.
The fix costs nothing. Switch the ceiling light off, put the piece on a table beside a window, and let the daylight come from the side. That single change does more than any editing app.
Everything below assumes a phone. You do not need a lightbox, a tripod or a macro lens to produce images that hold up on a marketplace listing.
What you need
All of it is either free or already in the house.
- Phone
- Any phone from the last few years. Clean the lens first — a smudged lens is the most common cause of soft, hazy jewellery photos.
- Window
- North-facing is ideal because the light stays even. Direct midday sun is too harsh; hang a thin white curtain to soften it.
- Surface
- Grey or off-white card, a plain tile, or the back of a notebook. Matte, not glossy — gloss creates a reflection under the piece.
- Bounce
- A sheet of A4 paper. Free, and the single most effective item on this list.
- Support
- A small piece of putty or folded card to tilt a ring or pendant upright toward the camera.
- Time of day
- Mid-morning or mid-afternoon. Light at dusk carries a strong orange cast that is hard to correct afterwards.
How it works with Dekhlo
Turn the ceiling light off
Mixed light sources are the main reason home jewellery photos look yellow-green. Use one kind of light at a time, and prefer daylight from a window over a room lamp.
Work beside a window, not in front of it
Put the piece on a table next to the window so the light crosses it from the side. Shooting with the window behind the piece turns it into a silhouette.
Bounce light back with paper
Stand a sheet of white paper or card on the shadow side, about a hand's width away. It lifts the dark side just enough to show detail without flattening the metal.
Steady the phone and lock exposure
Rest your hands on the table rather than holding the phone in mid-air. Tap the centre stone to focus, then hold to lock exposure so the metal does not blow out.
Questions sellers ask
What is the best lighting for jewellery photography at home?
Soft daylight from a side window, with the room's ceiling light switched off. Side light gives metal the bright edge and shaded side that make it read as metal, and daylight keeps the colour neutral. A sheet of white paper on the shadow side lifts the detail.
Do I need a lightbox for jewellery photos?
No. A lightbox produces very even light, which is useful for plain white-background shots but tends to flatten the sparkle of stones. A window and a sheet of paper gives more directional light, which usually suits imitation jewellery better.
Why do my jewellery photos look yellow or green?
Almost always mixed lighting — daylight from a window combined with a warm room bulb or a green-tinted tube light. The camera cannot correct two different colours of light at once. Switch off the artificial light and shoot on daylight alone.
How do I stop my phone photos of jewellery looking blurry?
Two causes. Either the lens is dirty, which is worth checking before anything else, or the phone is moving. Rest your hands on the table instead of holding the phone unsupported, and tap to focus on the stone rather than letting the camera choose.
Should jewellery be photographed on a person or on its own?
Both, for different jobs. A plain-background shot is what marketplaces require for the main listing image. An on-model shot helps a buyer judge scale, which for earrings and necklaces is often the deciding question before they order.
Start from a photo you already have
Upload one real photo of the product and review the results against your original before anything is published. New studios start with 50 free credits.